A Beginner’s Guide to Understanding Depth of Field
Understanding depth of field is an important part of being able to control the outcome of your images in photography. The look of any given image will be strongly influenced by the depth of field of that image.
So in order to be able to consistently have control over your pictures, it’s important to be able to control your depth of field.
So this article will be about defining depth of field but also about how to control it and when to implement certain types of depth of field.
What is Depth of Field in Photography?
Depth of field is the amount or portion of an image that is in focus compared to the areas of the image that are out of focus. When an image has very little in focus, this is referred to as ‘shallow depth of field’. Conversely, when an image has most or everything in focus, oftentimes it’s referred to as ‘deep depth of field’ or ‘wide depth of field’.
Depth of field is also referred to as focus range or effective focus range.
With wide to normal angle lenses, the in-focus areas in front of and behind your focus point are not exactly spread evenly. Usually the area in focus will be spread out as 1/3 in front of the focus point and 2/3 behind it. As your focal length gets longer, however, the difference gets less pronounced and evens out.
What Settings Affect Depth of Field?
DOF in digital photography is affected by three things:
- Aperture Size
- Camera to Subject Distance
- Sensor Size
Aperture and Depth of Field
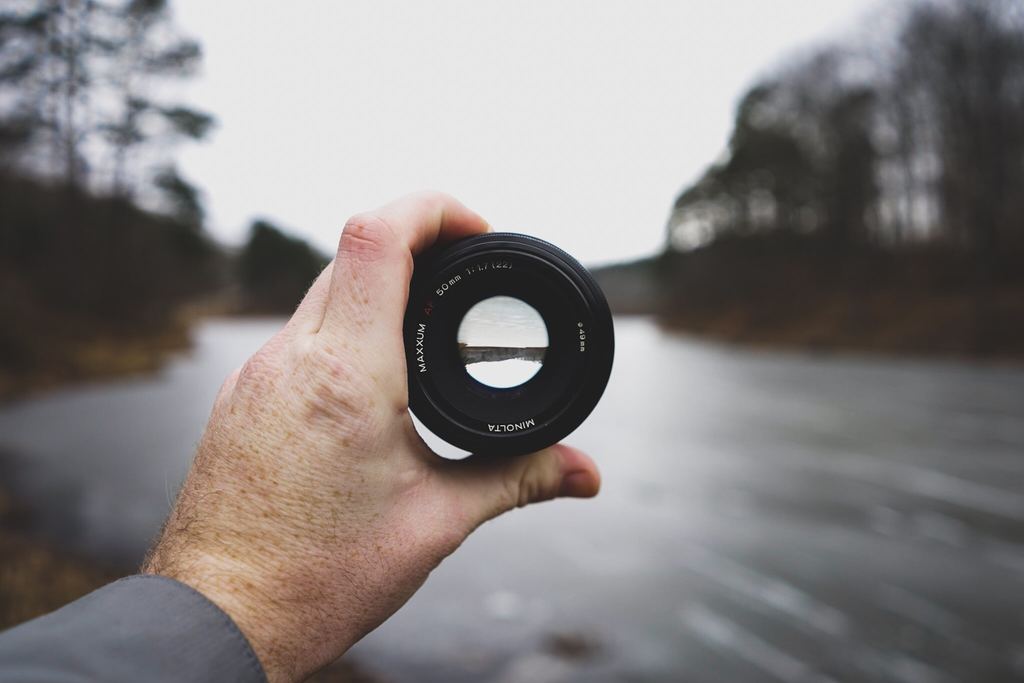
The aperture of a lens is the opening in which light is allowed to pass through. The larger the aperture is set to, the more light is allowed to enter in to the camera. And conversely, the smaller the aperture, the less light is allowed to pass through into the camera.
A typical aperture range for many lenses these days falls between f/22 on the small end and f/1.8 on the large end. Many lenses are capable of stopping down to f/32 or even smaller or opening to f/1.4 and larger however. Some lenses have narrower aperture ranges and some have wider ones, it just depends on the lens.
Wider aperture lenses have more complicated designs and therefore are more costly to produce. They cost more but give you more flexibility when it comes to low light and shallow depth of field capabilities.
When set to large, or wide apertures, depth of field is shallower. In other words, when you set your lens to apertures on the wide end, less of your pictures will be in focus.
One thing that takes some getting used to, is that smaller aperture numbers mean larger apertures. For example, an f/2.8 aperture is larger than f/16.
And so conversely, the apertures with higher numbers are smaller. An f/22 aperture is smaller than f/8.
Considering that wide apertures have shallower depth of field, you probably guessed it – the smaller the aperture, the larger depth of field or wider the depth of field you’ll get. In other words, smaller apertures are used to get more of a photo in focus.
Now that we’ve covered how aperture affects depth of field, I’ll cover some standard instances in which shallow depth of field would be used in lieu of deep depth of field, and vice versa, and why.
When to Use Wide Apertures for Shallow Depth of Field
I’d like to preface these next to sections by saying that there are always a million exceptions to the rule in photography. Photography is subjective and it’s up to you as a photographer to decide what creative liberties you want to take.
If you want to do the exact opposite of what’s considered “standard” – then go for it. Some of the most impressive results arise by going against conventional wisdom.
With that said, here are some of the more common instances in which it works well to utilize a shallow depth of field:
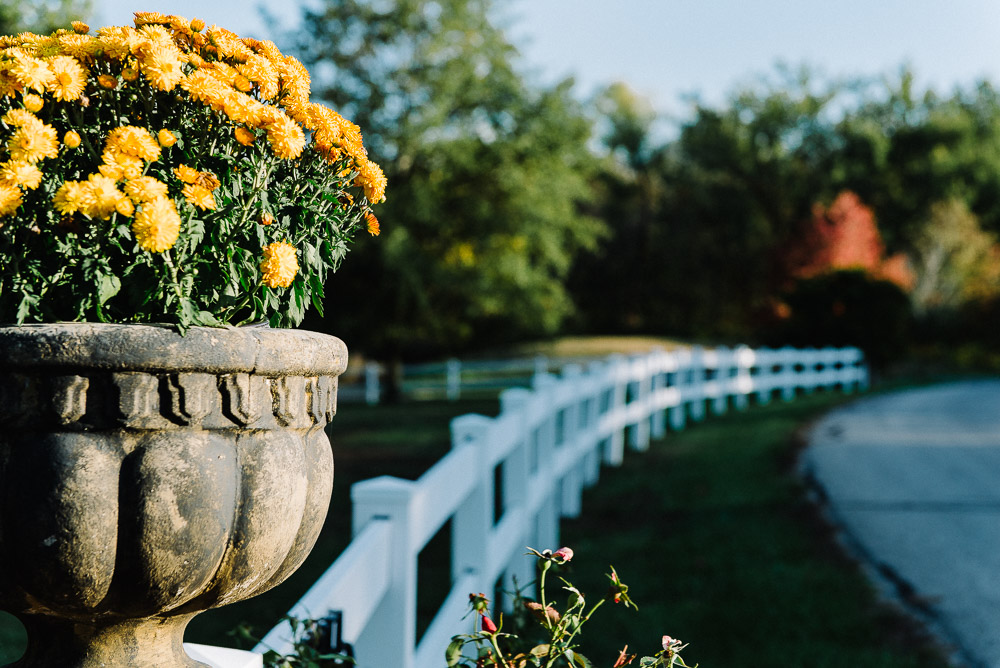
- Portraits:

The most common scenario when shallow depth of field is used is probably for portraits. Shallow depth of field portraits work well because the goal of portraits is usually to showcase the subject. Using a shallow depth of field lets you do that by having the subject in focus and the area around and behind them out of focus.
This draws the viewer’s eye to the subject, where you want them to focus, rather than less important visual information, like the background. This can be really useful in situations in which you want to draw attention away from a messy or ugly background.
But once again, there are always exceptions to the rule – I’ve come across plenty of excellent portraits that have been shot with smaller apertures and have deeper depth of fields.
- Sports Photography:

With the low lighting conditions you find yourself in when doing sports photography indoors (which will be without flash), you’re usually forced to shoot with a wide aperture (and thus a shallow depth of field). But which is not a problem because sports photographs are shot at a thin depth of field far more often than not.
Sports photography shot at a shallow depth of field works well because you get what’s important in focus, i.e. usually the players, and the less important visual information is thrown out of focus. There’s a lot of visual elements that end up in the background of sports shots, like bleachers, fans, gymnasium exit signs, etc. These things are usually just distractions that would take away rather than add to a sports image.
When to Use Small Apertures for Deep Depth of Field
There are plenty of instances in photography when you’ll want everything, or get as much as you can, in focus.
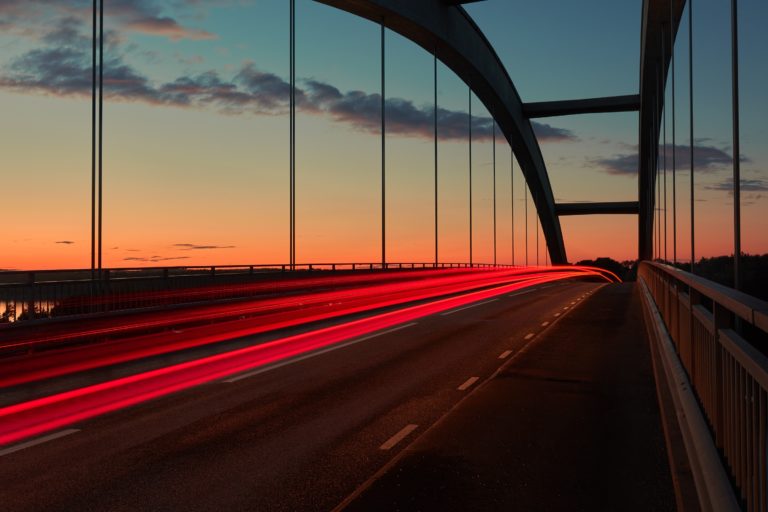
- The most common being landscapes:
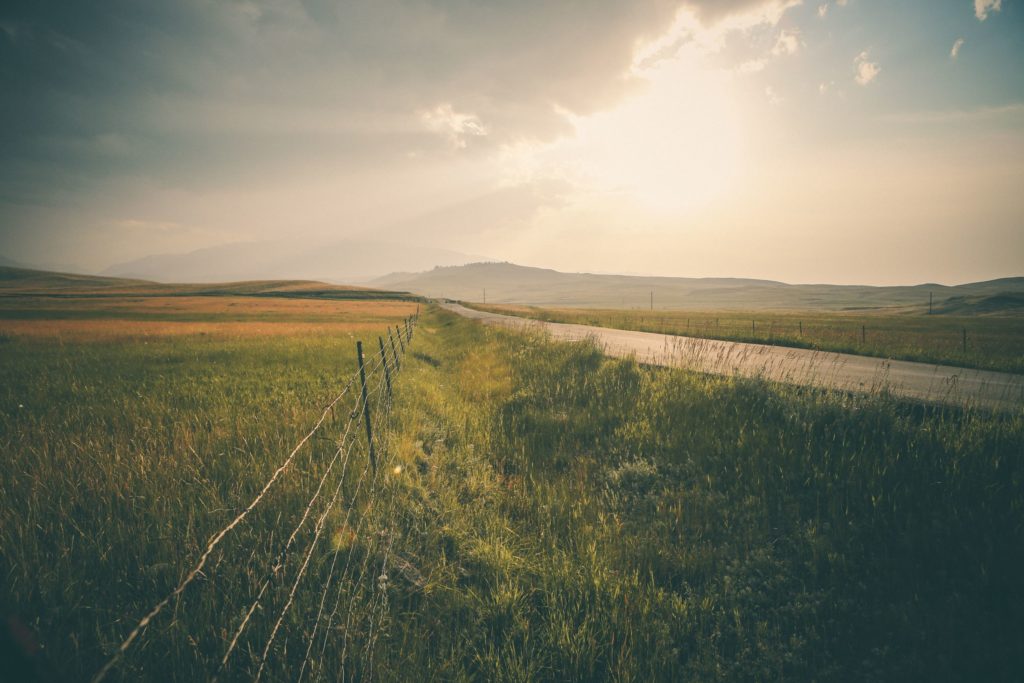
With landscapes, rarely do you have a subject that you try to isolate from the rest of your composition. It’s not uncommon for your entire composition to be your subject.
Accordingly, it makes sense to have everything be in focus and go for a large depth of field.
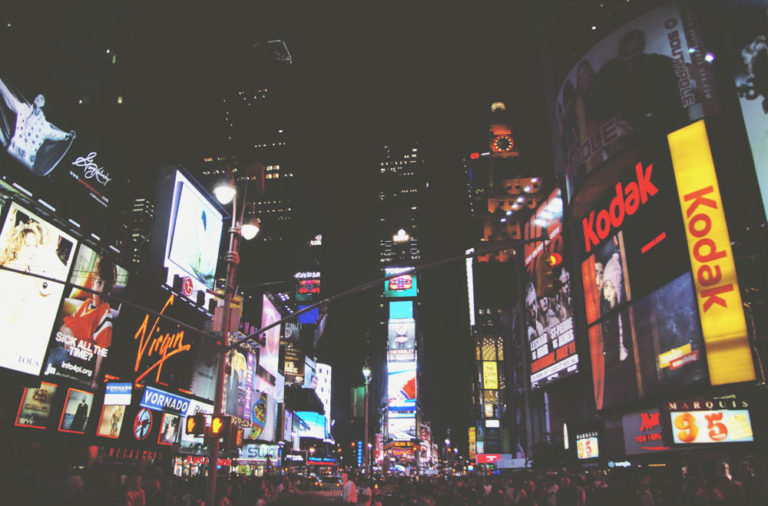
The same can be said for the majority of cityscapes – they work well when everything in the frame is in focus.
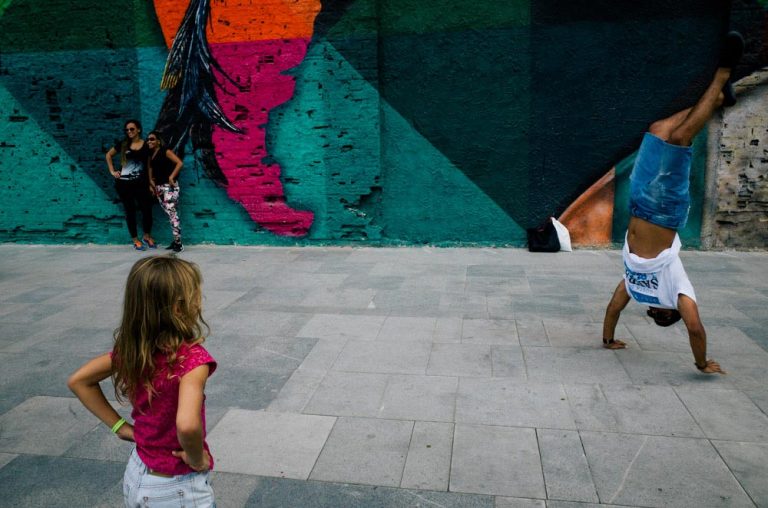
- Street Photography:

Street photography can and is shot in many different styles but mine is to have as much as I possibly can in focus. I like to arrange my frames to have multiple different subjects and usually I’d prefer them all to be in focus. This usually means shooting at f/8 or f/11.
This results in as much as possible of my frame being in focus and also has the added benefit of letting you “zone focus” or “snap focus”. Essentially meaning you don’t have to focus at all, everything in your frame will be in focus as long as you’re shooting in enough light to get you a fast enough shutter speed. Your shutter just snaps rather than having to wait until your focus locks on.
While it’s great to be able to get everything in focus or have very little in focus when the situation calls for it, the required aperture settings for these effects can have detrimental consequences on your image quality.
Downsides of Shooting with a Wide Aperture
When you want a shallow depth of field look, having a nice lens that can shoot at a really wide aperture is great. But it doesn’t come without its problems.
One being that when you’re shooting, you just might get less in focus than you wanted. It’s possible to shoot a portrait of someone’s face and you got the person’s eyes in focus but their nose or their ears are blurry when you didn’t want that, you wanted their whole face in focus.
And it’s pretty easy to let this happen and not notice it when looking at the LCD on the back of your camera. You may only notice it once you’ve got your pictures pulled up on a larger screen.
Another issue when using wide apertures is not just that very little is in focus but that the in-focus areas are not sharp. The extent to which this happens is variable based on the lens, but all lenses suffer from at least some degree of declining sharpness at wider apertures.
Downsides of Shooting with Small Apertures
Just as with wide apertures, using small apertures can result in a loss of image quality, albeit in a different form.
Photographing with a deep depth of field is necessary in many photography applications but the required small apertures to get to that result can lead to what’s called diffraction.
When passing through a small opening such as a lens opening set to a small aperture, light diffracts, meaning it disperses and spreads out. The light waves coming through a smaller aperture interfere with each other more than when they come through a wider opening.
The important thing to know about diffraction is that because of this it results in diminished image quality. It causes blurriness in the smaller details of images shot at the smallest of apertures.
Not all lenses are created equally, so it’s important to know your gear. With lower quality lenses, diffraction sets in sooner, with higher quality lenses diffraction becomes a factor maybe a stop or so later.
With many lenses, diffraction starts being noticeable at f/16 but can be present down to f/11 in some lenses as well. For casual shooting it’s really not something to be all that concerned about – it may only be noticeable if you’re printing large or pixel peeping.
But if you’re photographing for professional purposes it’s important to know the limit you should be willing to go with your f-stop. It’s best to find the minimum f-stop value your lens should be shot at and not exceed that whenever possible.
Now that we’ve covered how aperture affects depth of field, we’ll talk about the next determining factor that affects depth of field, camera to subject distance.
How Camera to Subject Distance Affects Depth of Field
Along with aperture size, the distance you put between yourself and your subject is a significant factor in the depth of field you end up with.
There are two important things to know when it comes to camera-subject distance affecting your shots:
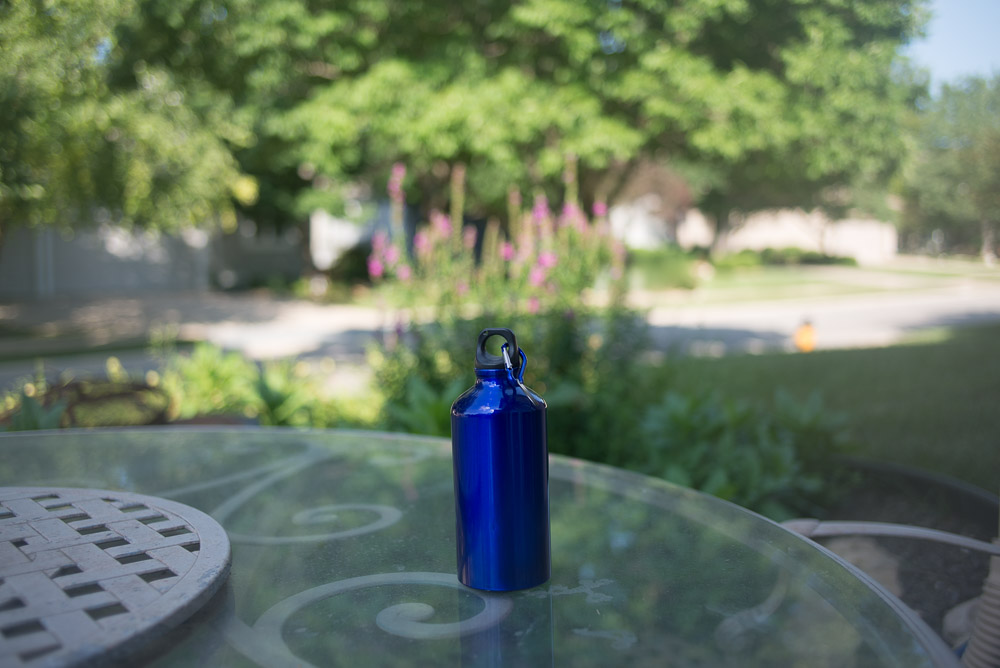
- The closer you get to your subjects, the less there will be in focus in front and back of said subjects. So if you want those blurry bokeh shots with the out of focus backgrounds, getting closer is one way to achieve that effect.
And conversely,
- The further away you and the camera are from the subject, the more there will be in focus.
Sensor Size
Sensor size is another component that determines DOF in photography, although one that you have less control over. Sensor size is not something you can adjust like with your aperture or the distance you stand away from your subjects. Rather, cameras have fixed sensor sizes, so this is something you’ll only be taking into consideration when initially buying your camera.
That being said, sensor size is not everything in photography, but is something to be taken into serious consideration not just for depth of field purpose but your overall image quality as well.
Smaller camera sensors have larger depths of field. More is in focus with small sensors. That can be a good thing that you want at times, but with smaller sensors you have less of an ability to blur out the background when you want to.
What I would consider smaller camera sensors would be micro 4/3 and cell phone camera sensors.
Larger camera sensors have the ability to register deep depths of field just as with smaller sensors, but they have the advantage in that they’re capable of thinner depths of field, and in some cases significantly so.
When it comes to shooting portraits, for example, larger sensors are preferable because you have a stronger ability to separate your subject from the background. This is especially helpful in cases when you need background separation but you’re working in a tight space.
A Common Misconception about What Affects Depth of Field: Focal Length
Many photographers, including myself, learn early on in our photography education that focal length affects depth of field through “compression”.
However, this is not exactly true. While it may be the case that longer focal lengths can give the impression that they render backgrounds more out-of-focus, this is usually just because a smaller portion of the background will fill the frame when shot with longer focal lengths.
This is due to the fact that longer focal lengths have a narrower angle of view. In other words, if you adjust the distance from your camera to your subject in order to get to the same magnification (i.e. the subject takes up the same amount of space in the frame), then the depth of field will be equal.
The gist is that what appears to be a stark difference between depths of field is really just due to differences in field of view. If you take a look at the out-of-focus areas of photographs shot different focal lengths but using the same apertures, you’ll find that the quality of said areas is the same.
So when it comes to choosing a depth of field for our images, we’re really focusing on controlling it through our choice of aperture and the distance we choose to put between ourselves and our subjects.
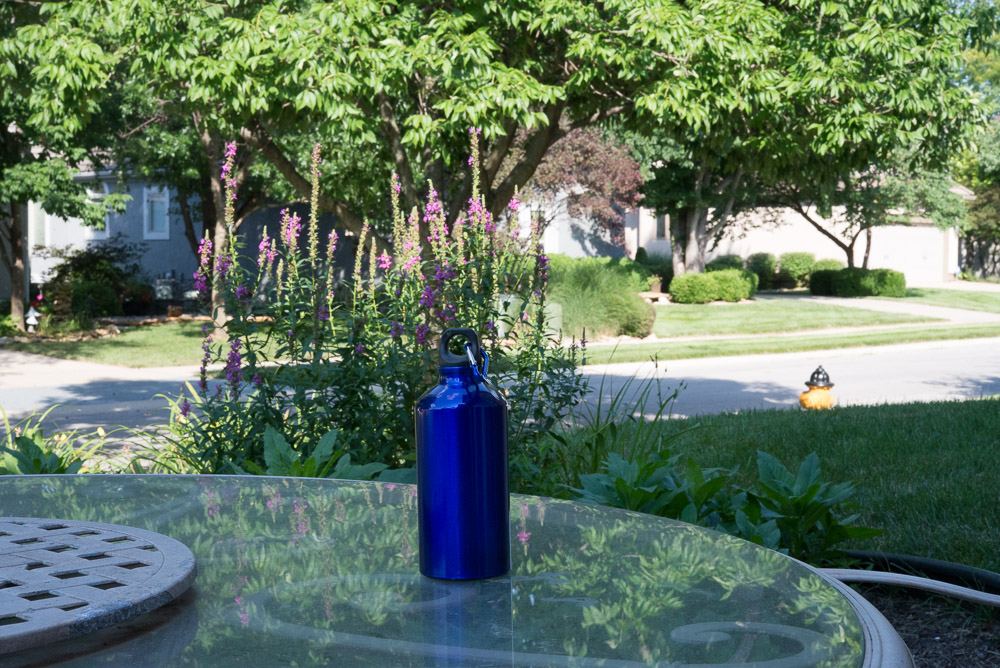
Here are a couple of sets of images that illustrate the point I’m trying to make here:
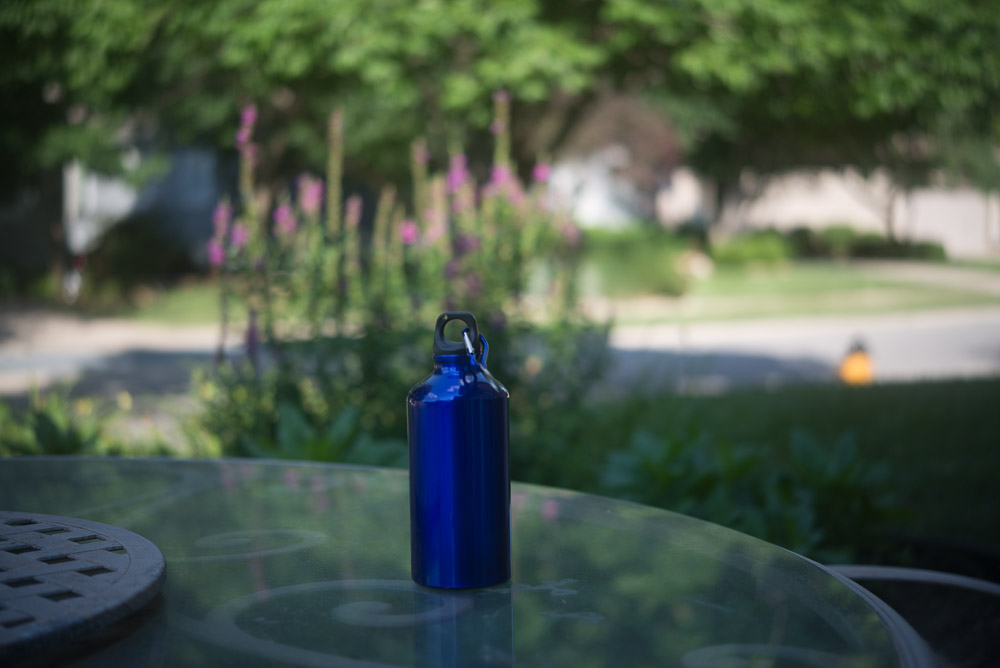
While this is by no means a scientific test (I just eye-balled it to get an approximate similar magnification of the subject and I did not use a tripod), you still get an accurate idea of what I’m talking about. The out-of-focus areas of the images are roughly the same, while the only thing that differs is the shift in perspective.
Here are two more examples shot at a small aperture to show the same example but with a large depth of field:

Notice how the backgrounds of the two images are the same, just like with the shallow depth of field examples. The only difference is the change in perspective.
Why is Depth of Field Important for Photographers?
In terms of ranking my importance of settings during my thought process in photography, I tend to think of it in this order:
- Depth of field (aperture)
- Motion blur (if I want it or not and therefore what shutter speed to shoot at)
- Graininess (the extent to which I’m willing to put up with grain so what ISO I’m using)
So I’m usually prioritizing and thinking about depth of field before I make any other adjustments. The reason being is the significant effect depth of field has on photos. A layperson may not be able to put their finger on the fact that a certain photo works because of the depth of field the photographer chose, but it’s a huge part of photography that can make or break a photo.
Ultimately, the reason depth of field is such an important aspect of photography is that certain situations call for choosing a specific amount of depth of field.
Quick Tips for Getting the Depth of Field you Want
After you get used to the concept of depth of field and how your technical decisions correlate with it, depth of field in photography becomes second nature. To reiterate, these are the basics of depth of field that will get you through most photography settings.
For shallow depth of field (to have less in focus):
- Make you aperture larger (adjust your aperture to a lower number, such as f/2.8)
- Get closer to your subject
Using a large aperture for shallow depth of field is a safe bet for when shooting portraits.
To achieve a deep depth of field (to have more in focus):
- Decrease the size of your aperture (adjust your aperture to a higher number, such as f/22)
- Photograph your subject from further away
Using a small aperture to bring more into focus is ideal when photographing landscapes.
Conclusion
While there are several facets to depth of field and how to achieve a certain depth of field, I think we as photographers tend to over-complicate things. Especially when we’re just starting out and learning photography.
Some guides go so far as to promote or encourage the use of depth of field calculators for determining what your depth of field will be under certain conditions, i.e. by what aperture you’re using, distance to subject and focal length. While some may enjoy playing around with things like this, I ultimately think it’s unnecessary. Although I see no harm in it other than it being a waste of time.
And using a depth of field calculator may very well be helpful in getting an idea of the concept when you’re just starting out. But to me, photography is an artistic, almost spiritual experience that helps me make sense of the world around me.
I want to focus on making art, not feel like I’m participating in a math homework assignment or something. But as with everything in photography, everything is subjective, so in the end it’s up to you to do it your way.
The last thing I’d like to say is to just get very comfortable with the concept of depth of field. Take a day and shoot at your widest aperture and pay attention to your results. Then take another day and shoot at your smallest aperture (you might have to do this outside because less light will be reaching your camera’s sensor), and do the same – compare your results.
Knowing this concept like the back of your hand will prepare you to face the vast majority of situations you’ll find yourself in in photography.
If you’re unsure about any of the terms used in this article, be sure to check out our photography glossary.